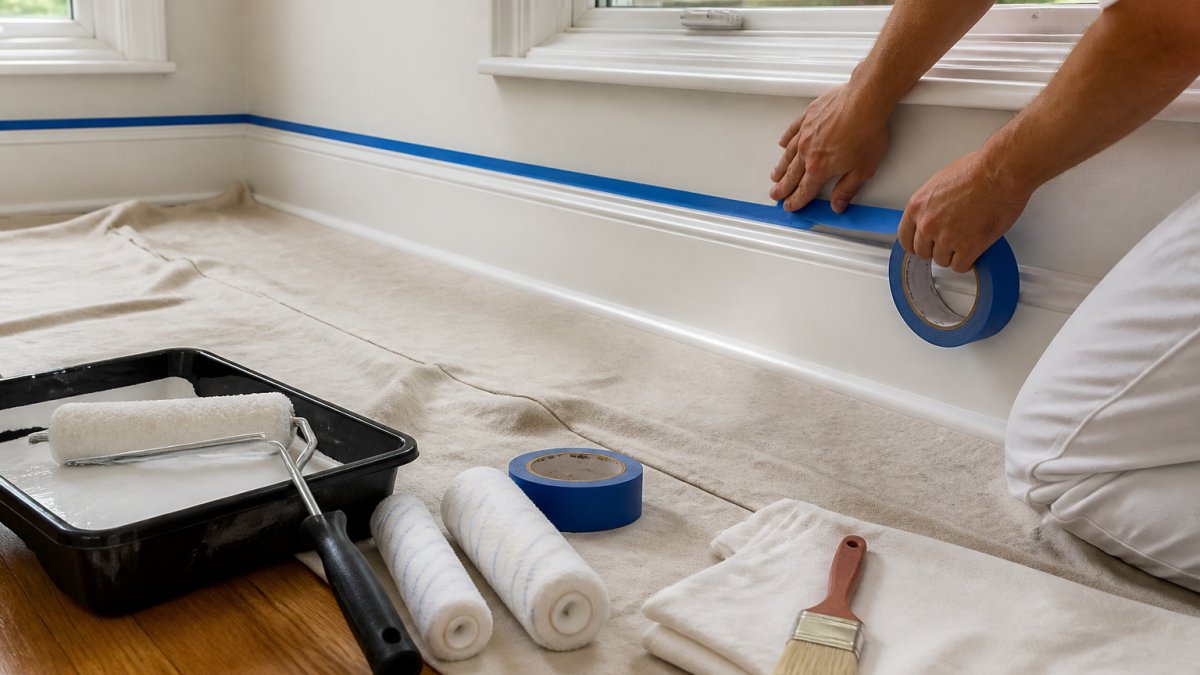
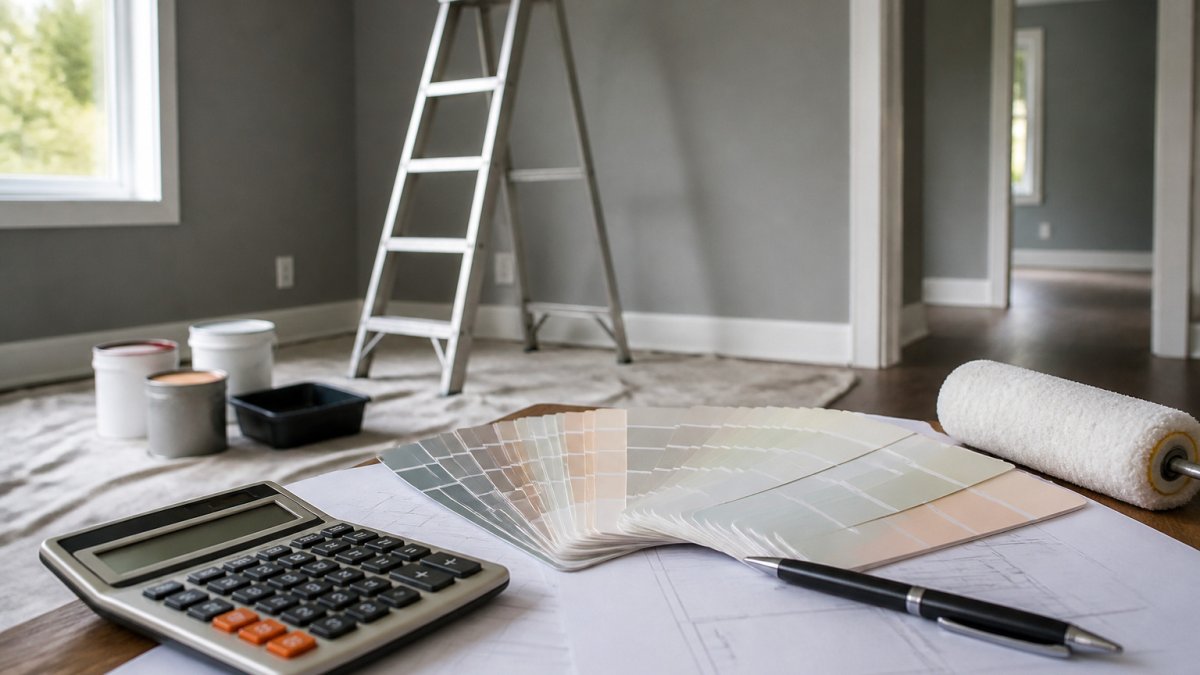
Tag: interior painting cost per square foot

  • What Does Professional Interior Painting Cost?

    What Does Professional Interior Painting Cost?

    Last Updated: November 1, 2026

    Quick Summary

    Professional interior painting cost depends on scope, surface condition, and materials, so there is no single price. Published guides put it at roughly $2 to $6 per square foot, with a national average near $4,220 for a typical interior project. Compare bids line by line to confirm they cover the same surfaces.

    • Per-square-foot rates vary by source, and a national average for an interior project is about $4,220.
    • Ask whether a per-square-foot quote measures floor area or wall area, since wall area is usually two to three times larger.
    • Trim, doors, and cabinets take more time per square foot than flat walls and are often priced separately.
    • Hourly painter labor typically runs $25 to $75 per hour, with $35 to $50 the most common range.
    • Get an on-site measurement or photo package, because published ranges cannot account for your walls.

    Table of Contents

    Typical Professional Interior Painting Prices

    Most homeowners who ask what professional interior painting costs want a number they can budget around. The honest answer is that the price depends on scope, surface condition, and materials.

    HandyFixNow provides written pricing before work begins, so you can review the terms before any work starts.

    Published national guides offer useful reference points, but they are not quotes for your home. CertaPro Painters interior painting cost guide reports a national average of about $4,220 for an interior project, while NerdWallet home painting cost guide lists interior painting at $2 to $6 per square foot. Treat these as benchmarks, not promises.

    Use these benchmarks to sanity-check a bid. If one quote is far below the others, ask what surfaces, preparation, and coats it includes.

    Interior Painting Cost Per Square Foot Explained

    Cost per square foot is the most common way painters price interior work, and it is the number most worth understanding before you compare bids. The rate is built from three inputs: the surface area to be painted, the labor hours that area requires, and the materials consumed. Painters multiply the area by a rate that bundles those three so the customer sees one clean figure.

    Published ranges vary by source and scope. A New Leaf Painting cost estimator lists professional interior work at about $2.25 to $4.00 per square foot, assuming premium materials and two coats. Improovy interior painting cost guide reports an average near $3.75 per square foot. NerdWallet home painting cost guide puts interior painting at $2 to $6 per square foot. The spread is wide because each source defines “square foot” differently.

    What the Square Footage Actually Measures

    This is the single biggest source of confusion in per-square-foot pricing. A painter may quote against any of these:

    • Floor area. The square footage of the room as listed on a floor plan. A 12-by-12 bedroom is 144 square feet of floor, but roughly 384 square feet of wall (perimeter times ceiling height, minus doors and windows).
    • Wall area. The actual paintable wall surface. This is the fairest measure for walls-only work, and it is usually two to three times the floor area.
    • Full scope area. Walls plus ceilings plus trim plus doors, each measured and priced at its own rate.

    Ask which measure the rate applies to. A “$3 per square foot” quote on floor area is a very different number from “$3 per square foot” on wall area.

    A Worked Example

    Consider a 12-by-12-foot bedroom with 8-foot ceilings, one standard door, and two windows. Its paintable wall area is calculated by multiplying the perimeter by the ceiling height and subtracting openings. Because per-square-foot rates vary by source, ask each painter to state which measure and rate they are using. If a per-square-foot quote and a per-room quote for the same room land far apart, one of them is measuring something different.

    Why Trim, Ceilings, and Doors Cost More Per Square Foot

    Flat walls are the fastest surface to paint. Trim, baseboards, doors, and window casings take more time per square foot because of cutting in, taping, sanding between coats, and brushwork. Painters often price these separately from walls, either at a higher rate or as flat line items per door or per linear foot of trim.

    Pro Tip
    When a painter quotes per square foot, ask three questions: Is this floor area or wall area? Does it include ceilings and trim? How many coats does it assume? The answers tell you whether two bids are actually comparable.

    How the Rate Shifts With Conditions

    Rates generally depend on conditions such as ceiling height, wall repair, color changes, and number of coats. Rates change when those conditions differ:

    • Ceiling height above 8 feet adds ladder or scaffold time and slows every pass.
    • Heavy patching, sanding, or priming adds labor that is not in a flat per-square-foot rate.
    • Dark-to-light color changes often require an extra coat or a tinted primer.

    A per-square-foot rate is a starting point, not a final price. The most reliable number comes from an on-site measurement of your actual wall area and surface condition.

    The table below summarises the published per-square-foot ranges and what each measure covers, so you can check which basis a quote uses.

    Source Rate per square foot Note
    A New Leaf Painting $2.25 to $4.00 Premium materials, two coats
    Improovy About $3.75 Average figure
    NerdWallet $2 to $6 Each source defines square foot differently
    Floor area Room footprint Common but understates wall work
    Wall area Two to three times floor area Fairest measure for walls-only work
    Full scope area Walls, ceilings, trim, doors Each item priced at its own rate

    What Drives Your Interior Painting Estimate

    Several factors move a painting estimate up or down. Our interior painting services cover walls, ceilings, trim, doors and cabinets, with patching, sanding and finishing included in the scope.

    • Room size and ceiling height. Taller walls take more time and more material.
    • Surface condition. Patching, sanding, and priming old or damaged walls add labor.
    • Number of coats. Two coats is standard for a finished look. Some colors need three.

    If you plan to add drywall repair or a texture match, ask for it as a separate line. Pricing for exterior painting and maintenance across South Florida is quoted separately from interior work.

    Get a Free Estimate →

    Professional Painter Labor Cost and Hourly Rates

    Some painters quote by the hour or the day rather than by the project. Carolina Renew house painting cost guide lists professional painter labor at $25 to $75 per hour, with $35 to $50 per hour as the most common range.

    Hourly pricing can be fair, but it puts more of the risk on you. Ask for a time estimate, a cap on total hours, and a clear explanation of what happens if the job takes longer.

    Labor is often a significant part of the bill, and materials cost depends on the paint you choose.

    How Much It Costs to Paint a Room

    Per-room pricing is what most homeowners want to know, and it is also where published averages are least reliable. Facade Colorizer interior painting guide lists bedroom painting at $650 to $1,400 and notes that a whole home can run $5,000 or more. Those figures are useful as a sanity check, but the same bedroom can legitimately cost $500 or $2,000 depending on scope and condition.

    Typical Per-Room Ranges by Scope

    Room pricing generally follows three scope levels:

    • Walls only, good condition, two coats. Typically the least expensive scope.
    • Walls plus ceiling, standard trim. Adds ceiling area and cut-in time.
    • Full room: walls, ceiling, trim, doors, and closet interior. Usually the most expensive scope, because trim and doors take more time per square foot.

    Larger rooms, high ceilings, heavy repairs, and dark-to-light color changes push any of these higher. A room in good condition with standard 8-foot ceilings and light colors sits at the low end.

    Why Two Bids for the Same Room Differ

    When two quotes for the same bedroom come back $600 apart, the gap is almost always scope, not price. One bid may cover walls only; the other may include ceiling, trim, two doors, patching, and primer. Before you compare totals, compare what each bid actually includes. The line-by-line comparison section below walks through the specific items to check.

    How to Get an Accurate Room Quote

    Published ranges cannot account for your walls. To turn a range into a real number, give each painter the same information so their bids are comparable:

    1. Measure the room. Note length, width, and ceiling height. Multiply perimeter by ceiling height to estimate wall area, then subtract doors and windows.
    2. Photograph the surfaces. Take wide shots and close-ups of cracks, stains, peeling paint, and any patched areas. Photos let painters price repairs without a second visit.
    3. List the scope explicitly. Walls only, or walls plus ceiling, trim, doors, and closet? Write it down and send the same list to every painter.
    4. State the paint and finish. Name the brand and line if you have a preference, and specify sheen (matte, eggshell, satin, semi-gloss). Sheen affects both price and durability.
    5. Disclose the condition. Mention any known repairs, texture matching, or moisture issues. Hidden problems are the most common reason a final bill exceeds the estimate.
    6. Ask what the quote excludes. Furniture moving, minor drywall repair, primer, and paint supply are common exclusions. Knowing them up front prevents surprises.
    Key Takeaway
    The most accurate room quote comes from an on-site visit or a detailed photo-and-measurement package. A phone estimate based on room count alone is a ballpark, not a price.

    Questions to Ask Before You Accept a Room Quote

    • How many coats are included, and is primer separate?
    • Is the ceiling included, and at what rate?
    • Are doors, trim, and closets priced per item or per linear foot?

    A painter who answers these in writing is giving you a quote you can compare. A painter who answers vaguely is giving you a starting point for a negotiation you would rather not have after the job begins.

    How to Compare Painting Estimates Line by Line

    Two bids for the same room can look far apart. Usually the difference is in scope, not in price. Compare them line by line:
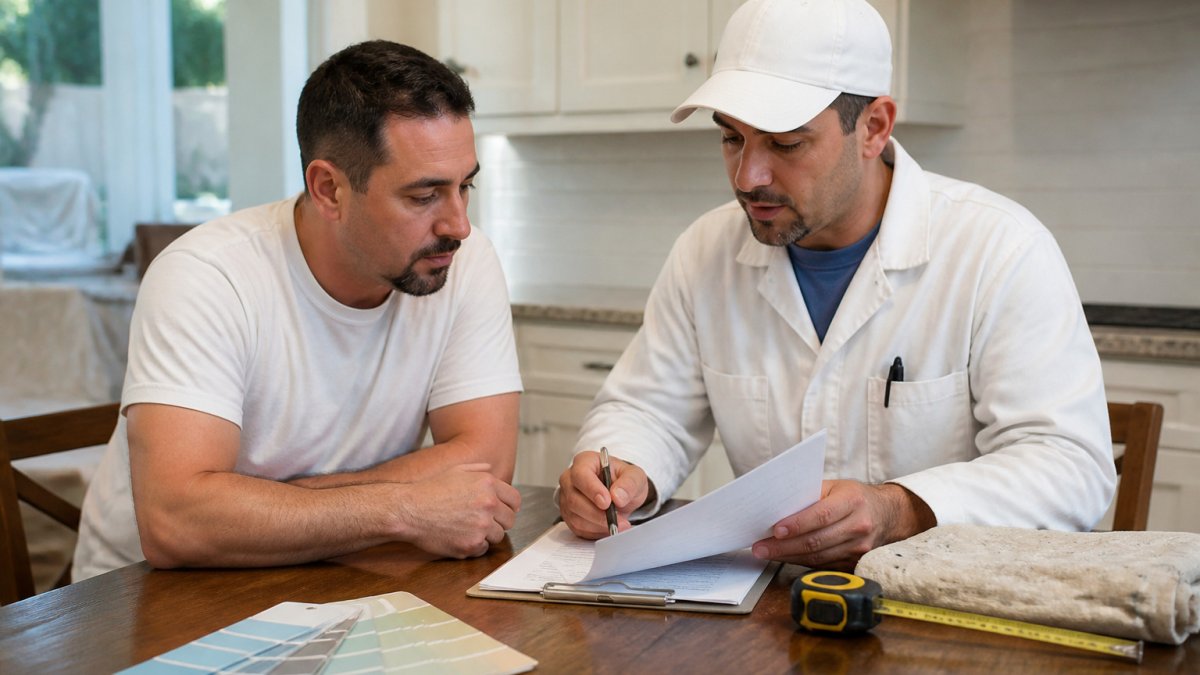
    A homeowner and painter reviewing an interior painting cost estimate line by line at a kitchen table.
    A homeowner and painter reviewing an interior painting cost estimate line by line at a kitchen table.
    1. Surfaces included. Does each bid cover walls only, or walls, ceilings, trim, and doors?
    2. Preparation. Look for patching, sanding, caulking, and priming. Vague wording like “prep as needed” is a warning sign.
    3. Number of coats. Confirm each bid specifies coats, not just “paint.”
    4. Paint brand and grade. Ask for the exact product name and line.
    5. Protection and cleanup. Floors, furniture, and debris removal should be listed.
    6. Warranty and timeline. Note what is guaranteed and how long the job will take.

    A clear written quote should cover these points in plain English. If a bid cannot be compared line by line, ask the painter to rewrite it.

    Requesting Your Free Estimate From HandyFixNow

    HandyFixNow provides free estimates with no obligation to book. One accountable crew handles the job from start to finish, so drywall repair, texture matching, and painting are handled together rather than split across separate trades.

    HandyFixNow provides written pricing before work begins and commits to clean, protected job sites. To request your estimate, use the contact page or call 561-663-4233. You can also request a free estimate online.

    Frequently Asked Questions

    How much can I charge for interior painting just labor?

    Labor is usually priced by the hour or as a share of the total project, and rates depend on the painter’s experience, the number of coats, and how much prep work is involved. Ask any painter to break the bid into labor and materials so you can see what the labor component actually covers. Compare the labor figure against the scope on the written estimate, since a low labor number can hide prep work that is billed elsewhere or skipped entirely. Pricing varies by market and job, so request written quotes from several professionals before deciding.

    How much is a professional painter per day?

    Daily rates depend on crew size, the complexity of the job, and local labor rates, so there is no single figure that applies to every project. Many quotes are built from estimated labor hours rather than a flat daily fee, which makes it easier to compare bids. When you request an estimate, ask how many days the crew expects to work, how many people will be on site, and what happens if the job takes longer than planned. Those answers reveal more than the daily rate alone.

    What should an interior painting quote include?

    A complete interior painting quote should list the rooms or surfaces included, such as walls, ceilings, trim, baseboards, and doors, along with the number of coats and the paint quality. It should also describe surface preparation, including patching, sanding, and primer, plus furniture protection, floor covering, and cleanup. Look for a payment schedule and a clear statement of what happens if hidden damage is found. Written pricing before work begins is the best protection against surprise charges on the final invoice.

  • Interior Painting Tips for Homeowners: A Complete Guide

    Interior Painting Tips for Homeowners: A Complete Guide

    Table of Contents

    Last Updated: October 21, 2026

    How to Prepare Walls for Painting

    Fill holes, cracks, and imperfections with spackling or joint compound, applied slightly overstuffed with a putty knife and smoothed flush.

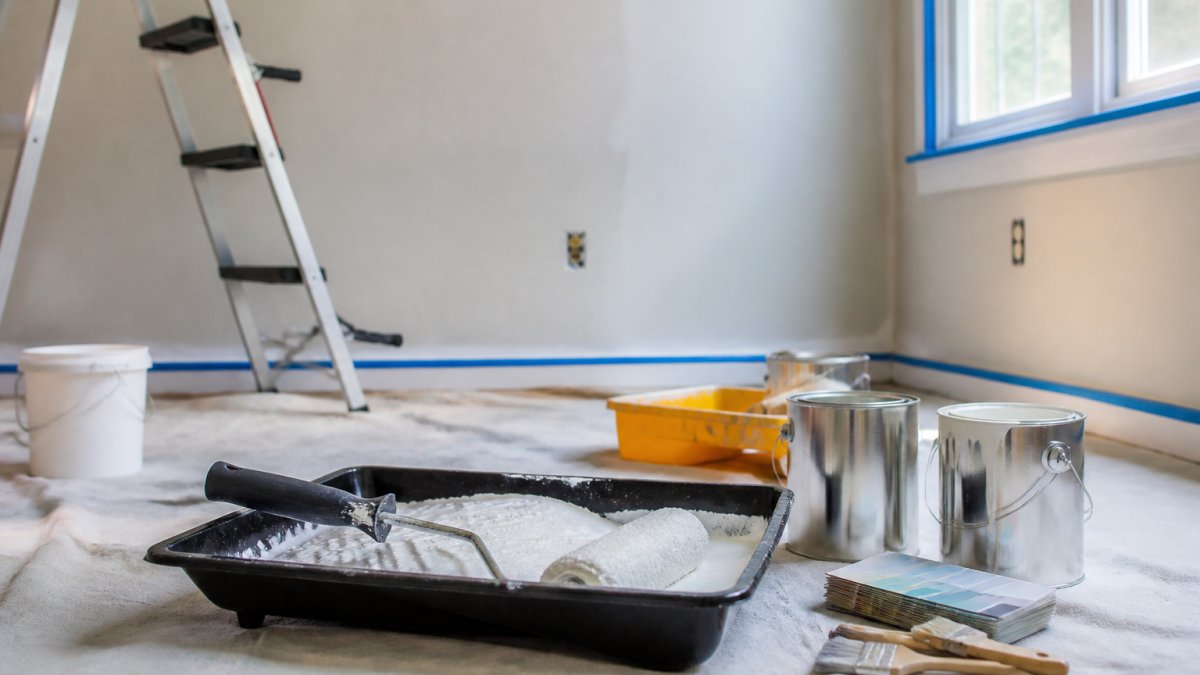
    Hands applying blue painter's tape to white trim as part of essential interior painting tips.
    Hands applying blue painter’s tape to white trim as part of essential interior painting tips.

    Sand patched areas smooth with 120-150 grit sandpaper until they blend seamlessly, then wipe away all dust with a tack cloth before priming.

    Protect furniture and floors with drop cloths

    Canvas drop cloths beat plastic because they stay in place and won’t slide as you work.

    Extend drop cloths at least 24 inches beyond your painting area and secure edges with painter’s tape.

    Clean walls and remove loose paint

    Use a damp microfiber cloth with warm water and mild detergent; for stubborn grime, try water and white vinegar.

    Scrape away any loose or peeling paint with a putty knife until you reach solid paint or bare wall, then sand the edges slightly so the transition isn’t abrupt.

    Fill holes, cracks, and imperfections

    Use spackling compound for holes smaller than 1/4 inch; for larger damage, joint compound shrinks less as it dries. Apply with a putty knife, overfilling slightly so you can sand smooth after drying.

    Deep cracks may need two coats: apply, dry, sand, then repeat if needed.

    Sand and smooth surfaces

    Sanding creates a slightly textured surface that helps primer and paint adhere. Use 120-150 grit sandpaper in circular motions with light to moderate pressure.

    After sanding, vacuum or sweep up dust, then wipe walls with a tack cloth to pick up fine particles.

    Interior Painting Tools You Actually Need

    You don’t need every tool sold at a paint store.

    Paint trays should have a deep well and a sloped section; disposable liners save cleanup time.

    Painter’s tape is essential for clean lines along trim, ceiling edges, and where walls meet other surfaces.

    Brushes and rollers for different surfaces

    Natural bristle brushes work best with oil-based paints; synthetic bristles suit latex paints because water causes natural bristles to swell and lose shape.

    A 3/8-inch nap is the versatile choice for most residential interior walls. Microfiber covers offer better paint pickup and release than standard covers.

    Essential equipment: trays, poles, and painter’s tape

    A sloped paint tray makes loading your roller easier and reduces waste; disposable liners eliminate cleanup.

    A painter’s pole attaches to your roller frame, extending reach 4-6 feet. Quality poles have a threaded connection that won’t loosen mid-stroke.

    Standard blue tape works for most surfaces; green tape suits surfaces where regular tape might leave residue. For interior painting, blue or green is sufficient unless you have delicate surfaces.

    Best Paint Finish for Each Room

    Paint finish, or sheen, affects how a room looks and how easily the surface cleans.

    Eggshell has a subtle sheen, forgives wall imperfections, and still cleans up.

    Satin finishes have a noticeable sheen and are highly washable.

    Semi-gloss and gloss finishes are shiny and extremely durable.

    Matte, eggshell, satin, and semi-gloss finishes explained

    Matte finishes have no reflective quality and absorb light, creating a velvety appearance.

    Eggshell has a soft sheen that’s barely noticeable in most lighting conditions.

    Satin finishes have a noticeable sheen and reflect light noticeably.

    Semi-gloss and gloss finishes are shiny and extremely durable.

    Finish selection by room: living areas, kitchens, bathrooms, and trim

    Living rooms and bedrooms are best served by matte or eggshell finishes.

    Kitchens require a finish that withstands moisture, heat, and frequent cleaning.

    Bathrooms are high-moisture environments where mildew and mold thrive on porous surfaces.

    Trim, doors, and cabinets traditionally receive semi-gloss or gloss finishes.

    Choosing Paint Colors and Testing Samples

    Color selection feels overwhelming because the options are endless.

    Light affects color perception dramatically.

    Paint the largest sample squares possible, at least 2 feet by 2 feet. Small swatches don’t give you enough color information to make a confident decision.

    Pro Tip
    Paint your samples on a white primer base, not directly on existing wall color. Existing colors influence how your sample appears, giving you false information about how the new color will actually look.

    How light affects paint color perception

    Natural light changes throughout the day, shifting the appearance of your paint color.

    Artificial lighting also affects color perception. Incandescent bulbs produce warm, yellowish light that makes warm colors appear richer and can make cool colors appear greenish.

    Glossy finishes reflect light and can make colors appear brighter and more saturated.

    Testing samples before committing to a full room

    Purchase paint samples in the colors you’re considering.

    Observe your samples throughout the day and over multiple days. Notice how the color appears in morning light, afternoon light, and evening artificial light.

    Narrow your choices to your top two or three colors, then live with those samples for several days.

    Interior Painting Cost Per Square Foot and Budgeting

    Wall condition is a major cost driver.

    Paint quality varies significantly in price and performance. Budget paints are cheaper upfront but often require more coats to achieve full coverage.

    The number of coats needed depends on color change and existing paint condition.

    Factors that affect painting costs

    Room size is the most obvious cost factor. Larger rooms take more time and require more paint.

    Wall condition determines how much preparation work is needed. Walls with existing stains or water marks need primer to prevent stains from bleeding through new paint.

    Paint quality and type affect both cost and performance. Oil-based paints cost more than latex but offer superior durability and finish quality.

    Estimating paint quantity and project scope

    Calculate your project’s square footage by measuring wall height and width.

    Estimate conservatively, it’s better to have extra paint than to run short mid-project. If your calculation shows you need 1.2 gallons, buy 2 gallons.

    Budget for primer separately. Primer typically covers 300-350 square feet per gallon.

    Get a Free Estimate →

    Primer and Surface Preparation Essentials

    Primer is the foundation of a quality interior painting job.

    Primer seals porous surfaces, preventing paint from soaking unevenly into the wall. This ensures uniform paint coverage and color consistency.

    Primer improves paint adhesion, especially on glossy surfaces or when painting over oil-based paint with latex.

    Watch Out
    Skipping primer on stained walls is a common mistake that leads to stain bleed-through within months. Water stains, smoke damage, and marker marks will show through paint unless sealed with primer first.

    When to use primer and why it matters

    Use primer on all new drywall before painting.

    Use primer when covering significant stains, water damage, or permanent marker marks.

    Use primer when changing paint colors dramatically.

    Use primer on glossy surfaces before painting with latex paint. Primer improves adhesion and prevents new paint from peeling.

    Low-VOC paint, ventilation, and household safety

    VOC stands for volatile organic compounds, chemicals that off-gas from paint as it dries.

    Low-VOC paints have become standard in quality interior paints.

    Ventilation is critical during and after painting. Open windows to create air circulation. Run exhaust fans in bathrooms and kitchens.

    Interior Painting Tips: Execution and Technique

    Proper technique makes the difference between a professional-looking finish and an amateurish result.

    Paint ceilings first, then trim, then walls.

    Cut in before rolling.

    Pro Tip
    Let your cut-in paint dry slightly before rolling to prevent the roller from blending your cut-in lines into the wall. Most painters wait 15-30 minutes before rolling after cutting in, depending on humidity and paint type.

    Roll in W or M patterns rather than straight lines. The W or M pattern helps distribute paint evenly and blends overlapping roller passes. After making the W or M pattern, fill in the pattern with vertical strokes. This technique prevents lap marks where roller passes overlap.

    Maintain consistent pressure and speed while rolling. Rolling too fast or with inconsistent pressure creates uneven coverage.

    Cutting in, rolling, and maintaining even strokes

    Cutting in requires a steady hand and proper brush technique.

    Avoid pressing too hard or making short, choppy strokes. Long, smooth strokes create a more professional appearance and blend better with rolled areas.

    Rolling requires a different technique than brushing.

    Painting order: ceiling, trim, then walls

    Ceilings are physically demanding and require a painter’s pole or ladder.

    Paint trim second. Trim includes baseboards, crown molding, window frames, and door frames.

    Paint walls last. By this point, you’ll be tired, but wall painting is the most forgiving work.

    Drying time, recoat timing, and applying multiple coats

    Check your paint’s drying time on the label.

    Temperature and humidity affect drying time. Cold temperatures and high humidity slow drying.

    Most interior painting projects require two coats of paint. The first coat seals the surface and provides base coverage.

    Common painting mistakes and how to avoid them

    Inadequate surface preparation is the most common mistake.

    Skipping primer is another frequent error. Primer isn’t optional when covering stains or changing colors significantly.

    Overloading your brush or roller creates drips, runs, and uneven coverage.

    Painting too fast leads to lap marks and uneven coverage.

    Troubleshooting Paint Defects and Special Surfaces

    Even with proper technique, paint defects sometimes occur.

    Paint drips and runs happen when you apply too much paint in one area.

    Uneven coverage or lap marks occur when roller passes overlap improperly or you let paint dry between passes.

    Peeling paint indicates poor adhesion, usually caused by inadequate surface preparation or skipped primer.

    Fixing drips, runs, and uneven coverage

    Wet drips can be smoothed out immediately with a brush or roller.

    Dried drips require sanding.

    Uneven coverage often results from insufficient paint application or inconsistent roller technique.

    Lap marks appear where roller passes overlap. Prevent them by maintaining a wet edge and working quickly.

    Painting difficult surfaces and texture matching

    Textured walls require special consideration. Use a thick-nap roller (1/2-inch or thicker) to reach into texture valleys.

    Popcorn ceilings are notoriously difficult to paint. Use a thick-nap roller and work slowly.

    Glossy surfaces require primer for new paint to adhere properly.

    Texture matching is critical when repainting textured walls.


    Interior painting transforms a space faster and more affordably than most home improvements. If you’re tackling a larger project, coordinating multiple trades, or dealing with complex texture matching, professional help ensures the results blend properly with your existing home.

    Frequently Asked Questions

    What are the essential steps for interior painting tips before I start?

    Start by clearing and protecting the room: lay drop cloths over floors and furniture, apply painter’s tape along trim and edges, and remove outlet covers. Clean walls thoroughly to remove dust and loose paint. Fill holes and cracks with spackling compound, sand smooth once dry, and apply primer if needed. Ensure proper ventilation by opening windows and doors. These preparation steps determine whether your paint job looks professional or amateur.

    What interior painting tools do I need for a basic room project?

    You’ll need quality brushes (2-3 inch for trim, angled for corners), roller covers (3/8-inch nap for smooth walls, 1/2-inch for textured), a roller frame, paint tray, painter’s pole for reach, painter’s tape, drop cloths, and a paint can opener. Invest in better brushes and rollers, cheap ones shed bristles and leave lint in your paint. A 5-in-1 tool helps remove old paint and clean edges. These tools make the difference between a rushed, messy job and clean, professional results.

    How do I choose the best paint finish for each room?

    Matte finishes hide imperfections but show dirt in high-traffic areas. Eggshell offers a slight sheen and works well in living rooms and bedrooms. Satin is durable and easy to clean, ideal for kitchens and bathrooms. Semi-gloss is best for trim and doors because it’s washable and durable. High-moisture areas like bathrooms need satin or semi-gloss to resist mildew. Choose based on the room’s function: low-traffic spaces tolerate matte; wet or busy areas need higher sheen.

    How much does interior painting cost per square foot, and how do I budget?

    Interior painting costs depend on factors like room size, wall condition, and paint quality. To budget, measure your room’s square footage, determine how many coats you need (usually 2), and calculate paint volume, most paints cover 350-400 square feet per gallon. Add 10% for waste. Get a written estimate before hiring to avoid surprises.

    How many coats of paint do interior walls need?

    Most interior walls need 2 coats for even coverage and color accuracy. One coat rarely provides full coverage, especially if you’re changing from a dark to light color. If you’re painting over stains or using low-opacity colors, 3 coats may be necessary. Always follow the paint manufacturer’s drying time between coats, typically 2-4 hours for latex paint. Rushing recoats leads to uneven finish and longer overall drying time.

    Should I hire a professional or paint the room myself?

    DIY works for small, simple rooms with flat, undamaged walls and straightforward layouts. Hire a professional for textured ceilings, water damage, extensive surface prep, or multiple rooms, especially if you need texture matching. Professionals finish faster, achieve better results, and handle disposal. Small mistakes in DIY painting are visible for years. A professional crew coordinates prep, priming, and painting seamlessly, reducing your time and stress.

    What is low-VOC paint, and should I use it?

    Low-VOC (volatile organic compound) paint emits fewer fumes during and after application, improving indoor air quality and reducing health risks, especially important in bedrooms and children’s rooms. Standard paint can off-gas for weeks. Low-VOC options cost slightly more but dry faster and have less odor. For any interior painting project, ensure good ventilation by opening windows and using fans. Low-VOC paint is worth the investment for your household’s long-term health.