
Table of Contents
- How to Choose the Best Way to Patch Drywall
- How to Patch a Small Hole in Drywall
- How to Repair a Large Hole in Drywall
- Drywall Repair Clips: When to Use Them
- How to Texture a Drywall Patch
- Applying Joint Compound, Taping, and Sanding for a Flush Finish
- Troubleshooting Common Drywall Patch Problems
- Frequently Asked Questions
Last Updated: October 16, 2026
How to Choose the Best Way to Patch Drywall
The best way to patch drywall is not one method, it is the method that matches three variables at once: hole size, wall location, and what caused the damage. Most guides stop at size. Size alone will send you into a repair that cracks, sags, or telegraphs through the paint.
Run the damage through this decision sequence before you buy anything.
Step 1: Measure the opening
Measure the widest point of the hole, not the average. A dented-in hole with a 1-inch crack running off it is a 3-inch repair, not a 1-inch one.
- Under 1/2 inch (nail pops, screw pops, hairline dents): non-shrinking spackle or lightweight joint compound, no patch. These are cosmetic and the substrate is intact.
- 1/2 inch to 2 inches: adhesive-backed mesh patch or a self-adhesive metal patch. The mesh bridges the opening and gives compound something to grab.
- 2 to 6 inches: a drywall plug (a piece cut slightly larger than the hole, glued and screwed to a backer) or a California patch, a replacement square with the paper left on the face and the gypsum stripped at the edges so the paper flaps out over the seam.
Step 2: Check what is behind the wall
This is the variable most guides ignore, and it is the one that decides whether your patch holds.
- Stud behind the hole: you can screw the replacement piece directly to framing. Simplest large-hole scenario.
- Open cavity between studs: you need backing. Drywall repair clips, a plywood backer screwed to the existing drywall, or a strip of 1×3 furring fed through the opening and screwed off. A patch with no backing flexes with every door slam and temperature swing.
- Outlet, switch, or junction box nearby: keep the cut at least a few inches clear of the box, and never bury a box behind new drywall. If the box is inside the damaged area, turn the circuit off at the breaker before you cut.
Step 3: Identify the cause before you patch
A patch is a cosmetic fix. If the cause is still active, the patch is temporary by design.
- Impact (doorknob, furniture, a thrown object): one-time event. Patch and move on.
- Moisture (soft, crumbly, stained, or a musty smell): find and stop the source first. Patching wet drywall traps moisture and the stain and softness return. Stained drywall near a shower, under a window, or below a roof line is a moisture repair, not a drywall repair.
- Structural movement (recurring cracks along the same seam, cracks radiating from a corner): the wall is moving. Re-taping without addressing the movement means the crack returns.
Method trade-offs at a glance
| Method | Best for | Main limitation |
|---|---|---|
| Spackle only | Nail pops, dents, hairline cracks | Nothing structural; fails on open holes |
| Adhesive mesh patch | Holes up to about 2 inches | Not rigid; sags on larger openings |
| California patch / plug | 2 to 6 inch holes | Needs a clean, square cut to fit tight |
| Repair clips + replacement piece | Holes between studs with no backing | Adds a step; clips must be screwed securely |
| Cut-and-replace with tape | Holes over 6 inches, or spanning a stud | Most labor and drying time |
Match the method to size, backing, and cause, not size alone. A mesh patch on a 10-inch hole, or any patch over active moisture, will fail within months no matter how clean the finish looks.
How to Patch a Small Hole in Drywall
Small holes under 2 inches are the simplest repair, and most homeowners can handle them in under an hour. You need a mesh patch, joint compound, a putty knife, and sandpaper. No cutting, no new drywall.
Using an Adhesive-Backed Mesh Patch
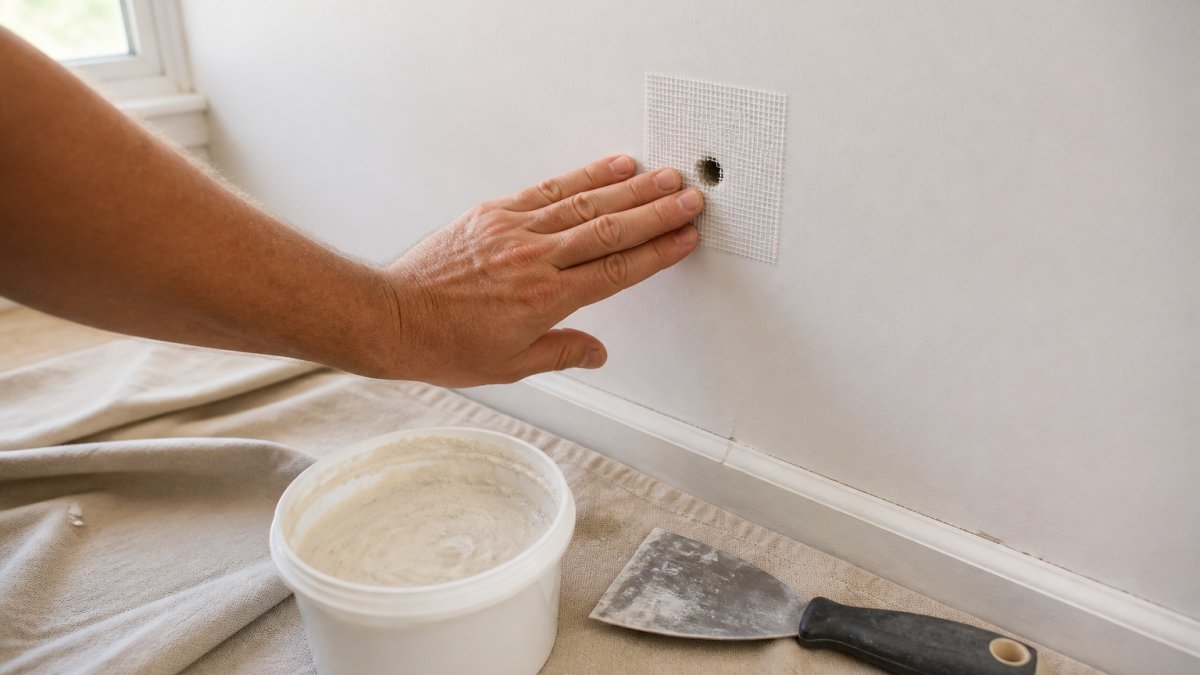
An adhesive-backed mesh patch is a thin fiberglass square with a sticky backing. It bridges the hole and gives the compound something to grip.
- Wipe away loose debris and dust around the hole.
- Peel the backing and press the patch over the hole.
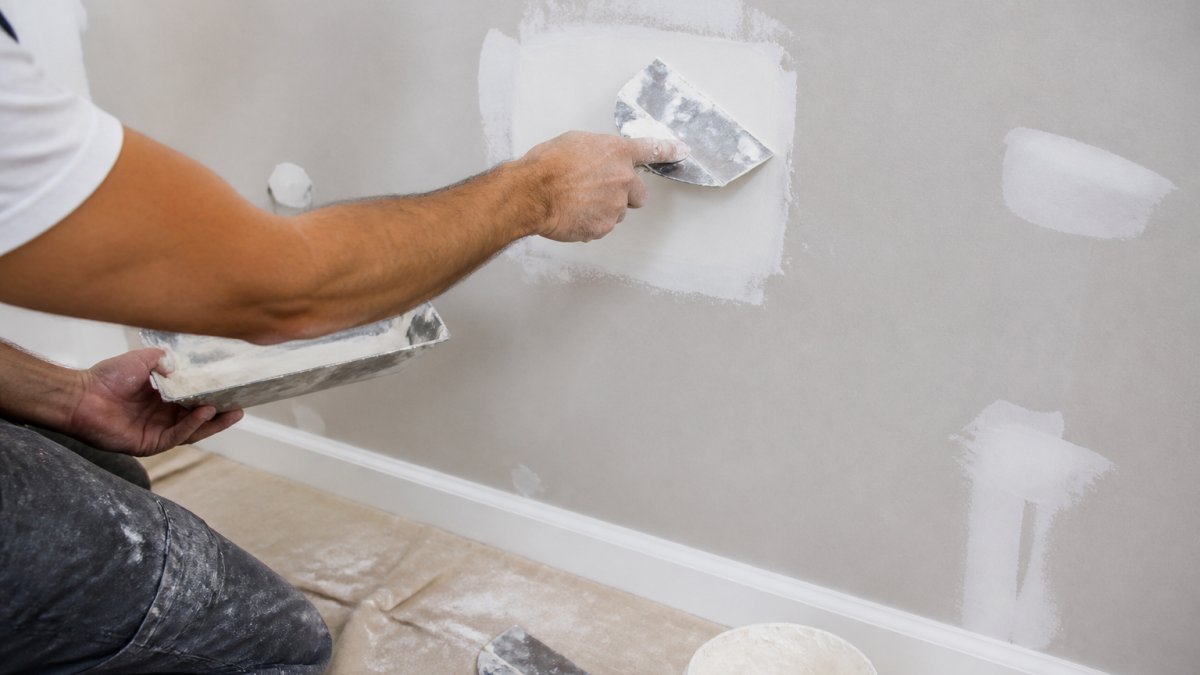
- Spread joint compound over the patch with a putty knife, pressing it into the mesh.
- Let it dry, then apply a second, wider coat to feather the edges.
- Sand smooth once dry.
A common mistake is loading on one thick coat. Thin coats dry faster and sand cleaner.
How to Repair a Large Hole in Drywall
Large holes over 6 inches need a real piece of drywall, not a patch. You cut a square, fit a replacement piece, and tape the seams. This takes longer but produces a flush, permanent repair.
Cutting and Fitting a Drywall Replacement Piece
Cut a square around the damaged area with a drywall saw. Keep the edges straight so the new piece fits tight. Measure the opening, then cut a replacement piece from a scrap of the same thickness, usually 1/2 inch.
Test the fit before you fasten anything. If the piece sits proud or sunken, the finish coat will show it.
Drywall Repair Clips: When to Use Them
Drywall repair clips hold a replacement piece in place when there is no stud behind the hole. They are small metal brackets that screw to the back of the existing drywall and give the new piece something to attach to.
Use clips when:
- The hole sits between studs
- You cannot reach behind the wall to add backing
- The opening is too large for a mesh patch but too small to reframe
Clips cost little and save a lot of frustration. Without backing, a floating patch will sag and crack.
Skipping backing behind a large patch is the number one reason repairs fail. The patch has nothing to hold it, so it moves with every temperature change and cracks along the seam.
How to Texture a Drywall Patch
Texture matching is what makes a patch disappear. A smooth patch on a textured wall stands out under raking light, especially near a window or ceiling.
Match the existing texture with a spray can of texture, a roller, or a stomp brush. Test on scrap drywall first.
For ceilings and orange-peel walls, a light spray from 12 to 18 inches away usually blends best.
Prime the patch before you texture. Bare compound absorbs moisture differently than painted drywall, and the texture will look uneven without a primer coat.
Applying Joint Compound, Taping, and Sanding for a Flush Finish
A flush finish comes from thin coats applied in a widening sequence, with real drying time between each one. The difference between a patch you can see and one you cannot is almost always in the coat schedule, not the compound brand.
Choose your compound before you start
- Setting-type compound (powdered, mixed with water): hardens by chemical set in 20 to 90 minutes depending on the formula. Best when you need to recoat the same day. Mix only what you can use; it sets whether you are ready or not.
- Premixed, all-purpose compound: dries by evaporation, typically 24 hours for a thin coat in normal conditions. Easier for beginners, slower for multi-coat work.
- Lightweight compound: sands easier and shrinks less, which matters on the final coat.
A common approach is setting-type compound for the first coat (fast, strong, embeds tape well) and lightweight premixed for the finish coats (sands clean).
The coat-by-coat sequence
First coat, embed the tape. Press compound into the seam, then embed mesh or paper tape while the compound is wet.
Second coat, widen and fill. Once the first coat is fully dry, spread a coat that extends 2 to 3 inches past the tape on each side.
A thin fourth coat is common on large patches where the second and third coats left a faint hump.
Drying and recoating rules
- Do not recoat over damp compound. Setting-type compound that has set but not dried will still feel cool and slightly damp; premixed compound that is still soft will smear.
- Thin coats dry faster than thick ones. A 1/8-inch coat can take far longer than a skim coat, and piling compound on to “save a coat” is the most common cause of a visible hump.
- High humidity and cold slow drying significantly. In a humid room, give premixed compound extra time or switch to setting-type.
Sanding checkpoints
- Between coats: a light pass with a fine-grit sanding block or sponge to knock down ridges and nibs. Do not sand through the tape.
- After the final coat: sand with a fine-grit block using light pressure. Stop when the surface feels flat under your hand and the edges disappear.
- The light test: hold a work light or flashlight at a low angle across the patch. Raking light reveals humps, ridges, and sanding scratches that look invisible under normal light. This is the check that separates a professional finish from a DIY one.
Prime before you texture or paint
Bare compound absorbs moisture differently than painted drywall. Without a primer coat, texture and paint dry unevenly and the patch shows as a dull or flashing spot. Prime the patch and feather the primer a few inches onto the surrounding wall, then let it dry before texturing or painting.
Gypsum Association guidance on drywall finishing covers coat thickness and drying standards if you want the technical detail.
Judge every coat under raking light, not overhead light. A patch that looks perfect straight on can show a clear ridge the moment sunlight hits the wall at an angle.
Troubleshooting Common Drywall Patch Problems
Most failed patches come down to four causes. Here is how to spot and fix each one.
| Problem | Likely Cause | Fix |
|---|---|---|
| Cracks along the seam | No tape or backing | Re-tape and add clips or backing |
| Visible hump | Too much compound | Sand down and re-feather |
| Texture looks off | Wrong texture or no primer | Prime, then re-texture |
| Stain returns | Moisture still present | Fix the leak before repatching |
If a patch fails twice in the same spot, stop repatching. Something behind the wall is moving, wet, or unsupported.
When a repair sits near an outlet, plumbing, or wiring, or when the damage keeps coming back, that is the point to call in a crew.
For homeowners and property managers who want it done once, the EPA’s guidance on moisture and mold in homes is worth a read before you patch anything that has been wet.
Frequently Asked Questions
What is the difference between joint compound and spackle?
Joint compound, often called drywall mud, comes in premixed or setting-type formulas and is used for taping seams, filling large areas, and building up multiple coats. Spackle is a thicker, paste-like filler best for small nail holes and minor cracks. For patching drywall, joint compound gives you more working time and feathers out more smoothly, while spackle dries faster but can shrink and crack if applied too thick.
How do you use drywall repair clips?
Drywall repair clips hold a replacement piece in place when the hole is too large for a simple patch and no backing stud exists behind the opening. You insert the clips around the edges of the hole, slide the new drywall piece behind them, then tighten the clips to pull the piece flush with the surrounding wall. Once the piece is secured, you tape and coat the seams like any other repair.
How many coats of joint compound does a drywall patch need?
Most patches need three coats of joint compound. The first coat embeds the mesh or paper tape and fills the gap. The second coat builds out the repair and covers the tape edges. The third, thinner coat feathers the compound beyond the patch to blend it into the wall. Let each coat dry fully before sanding and applying the next, then sand smooth with a fine-grit sanding block before priming.
How do you make a drywall patch blend in with the wall?
Blending a patch starts with feathering each coat of joint compound well past the edges of the repair, so the transition is gradual rather than abrupt. After sanding, apply a primer that matches the wall’s existing finish, then match the texture, whether that is orange peel, knockdown, or a light splatter. Paint the entire wall from corner to corner rather than just the patch, because touching up only the repaired area often leaves a visible halo under angled light.
A patch that keeps cracking, a texture that never matches, and a paint job that shows every seam: these are the reasons a small repair turns into a big headache. HandyFixNow fixes that by keeping drywall, texture, and paint under one crew, with written pricing before work starts and a clean, protected job site when we leave. Get a free estimate and let us handle the patch, the texture, and the paint in one visit.